How to Make Silicone Moulds for Silver Clay Jewellery (A Step-by-step Guide)
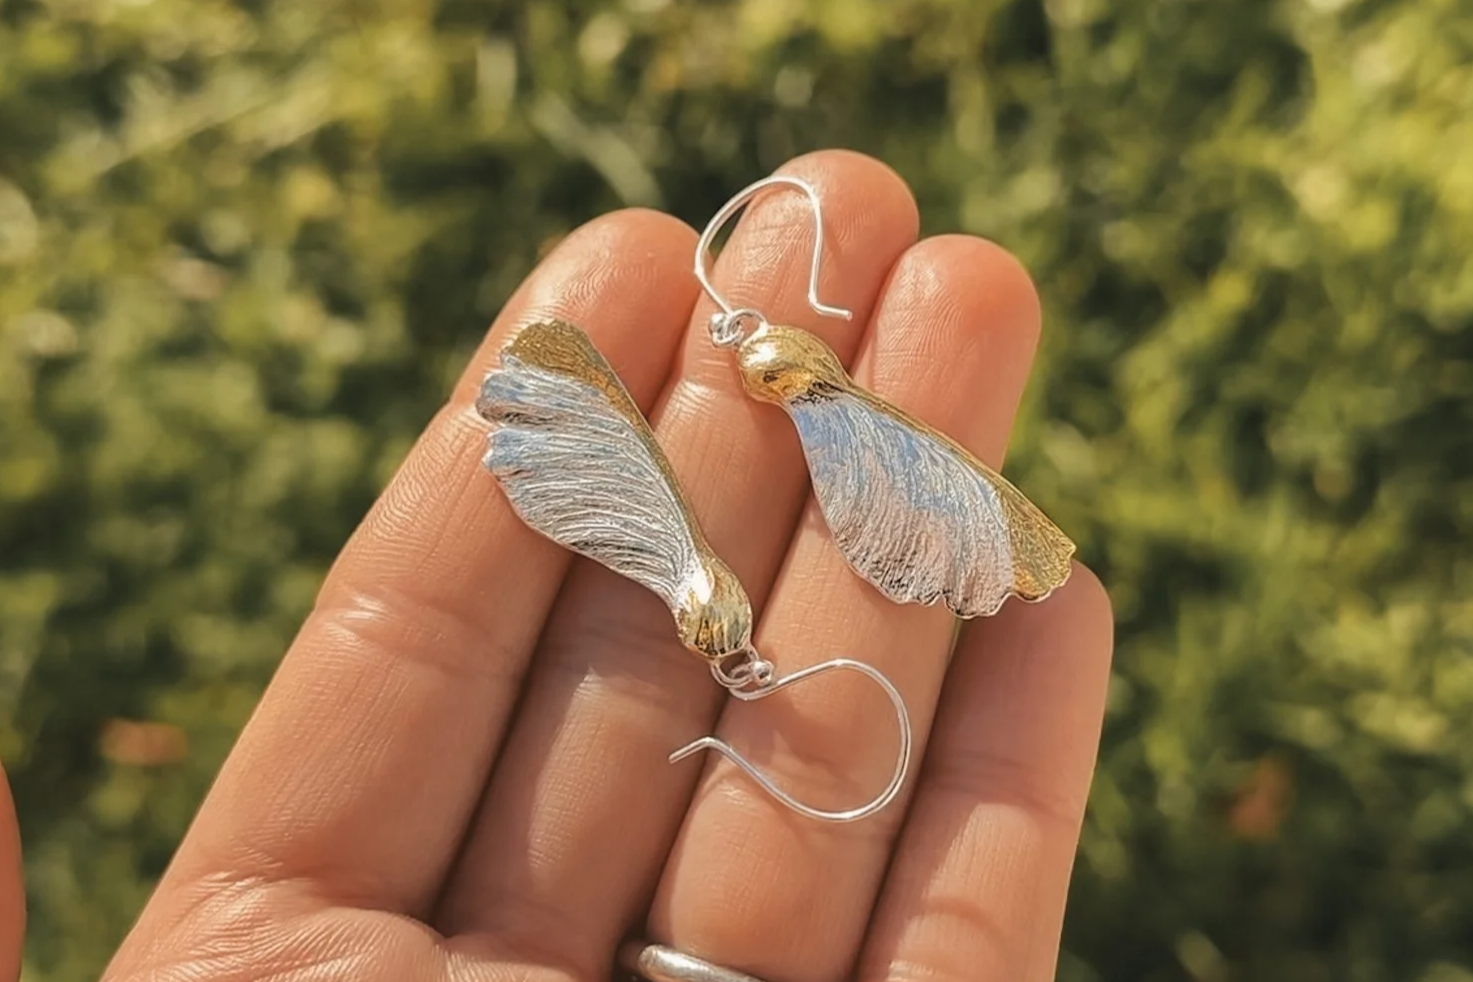
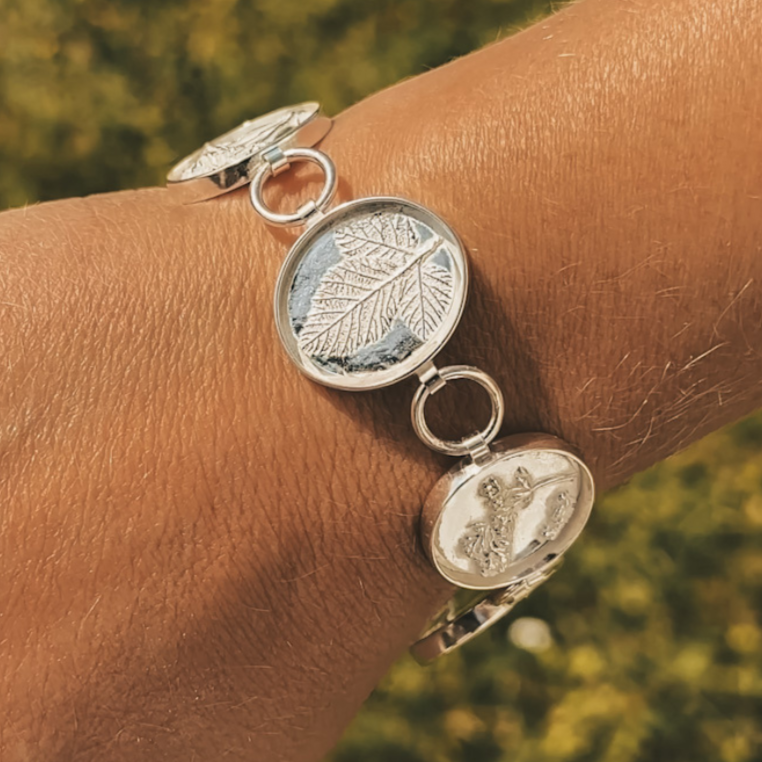
If you want to add unique botanical textures to your silver clay jewellery, making your own silicone moulds is one of the most effective ways to do it.
Here I will walk you through the steps to make a flexible Siligum silicone mould so you can capture fine detail from plants, flowers, shells, and other small objects, then use that impression again and again in your silver clay projects.
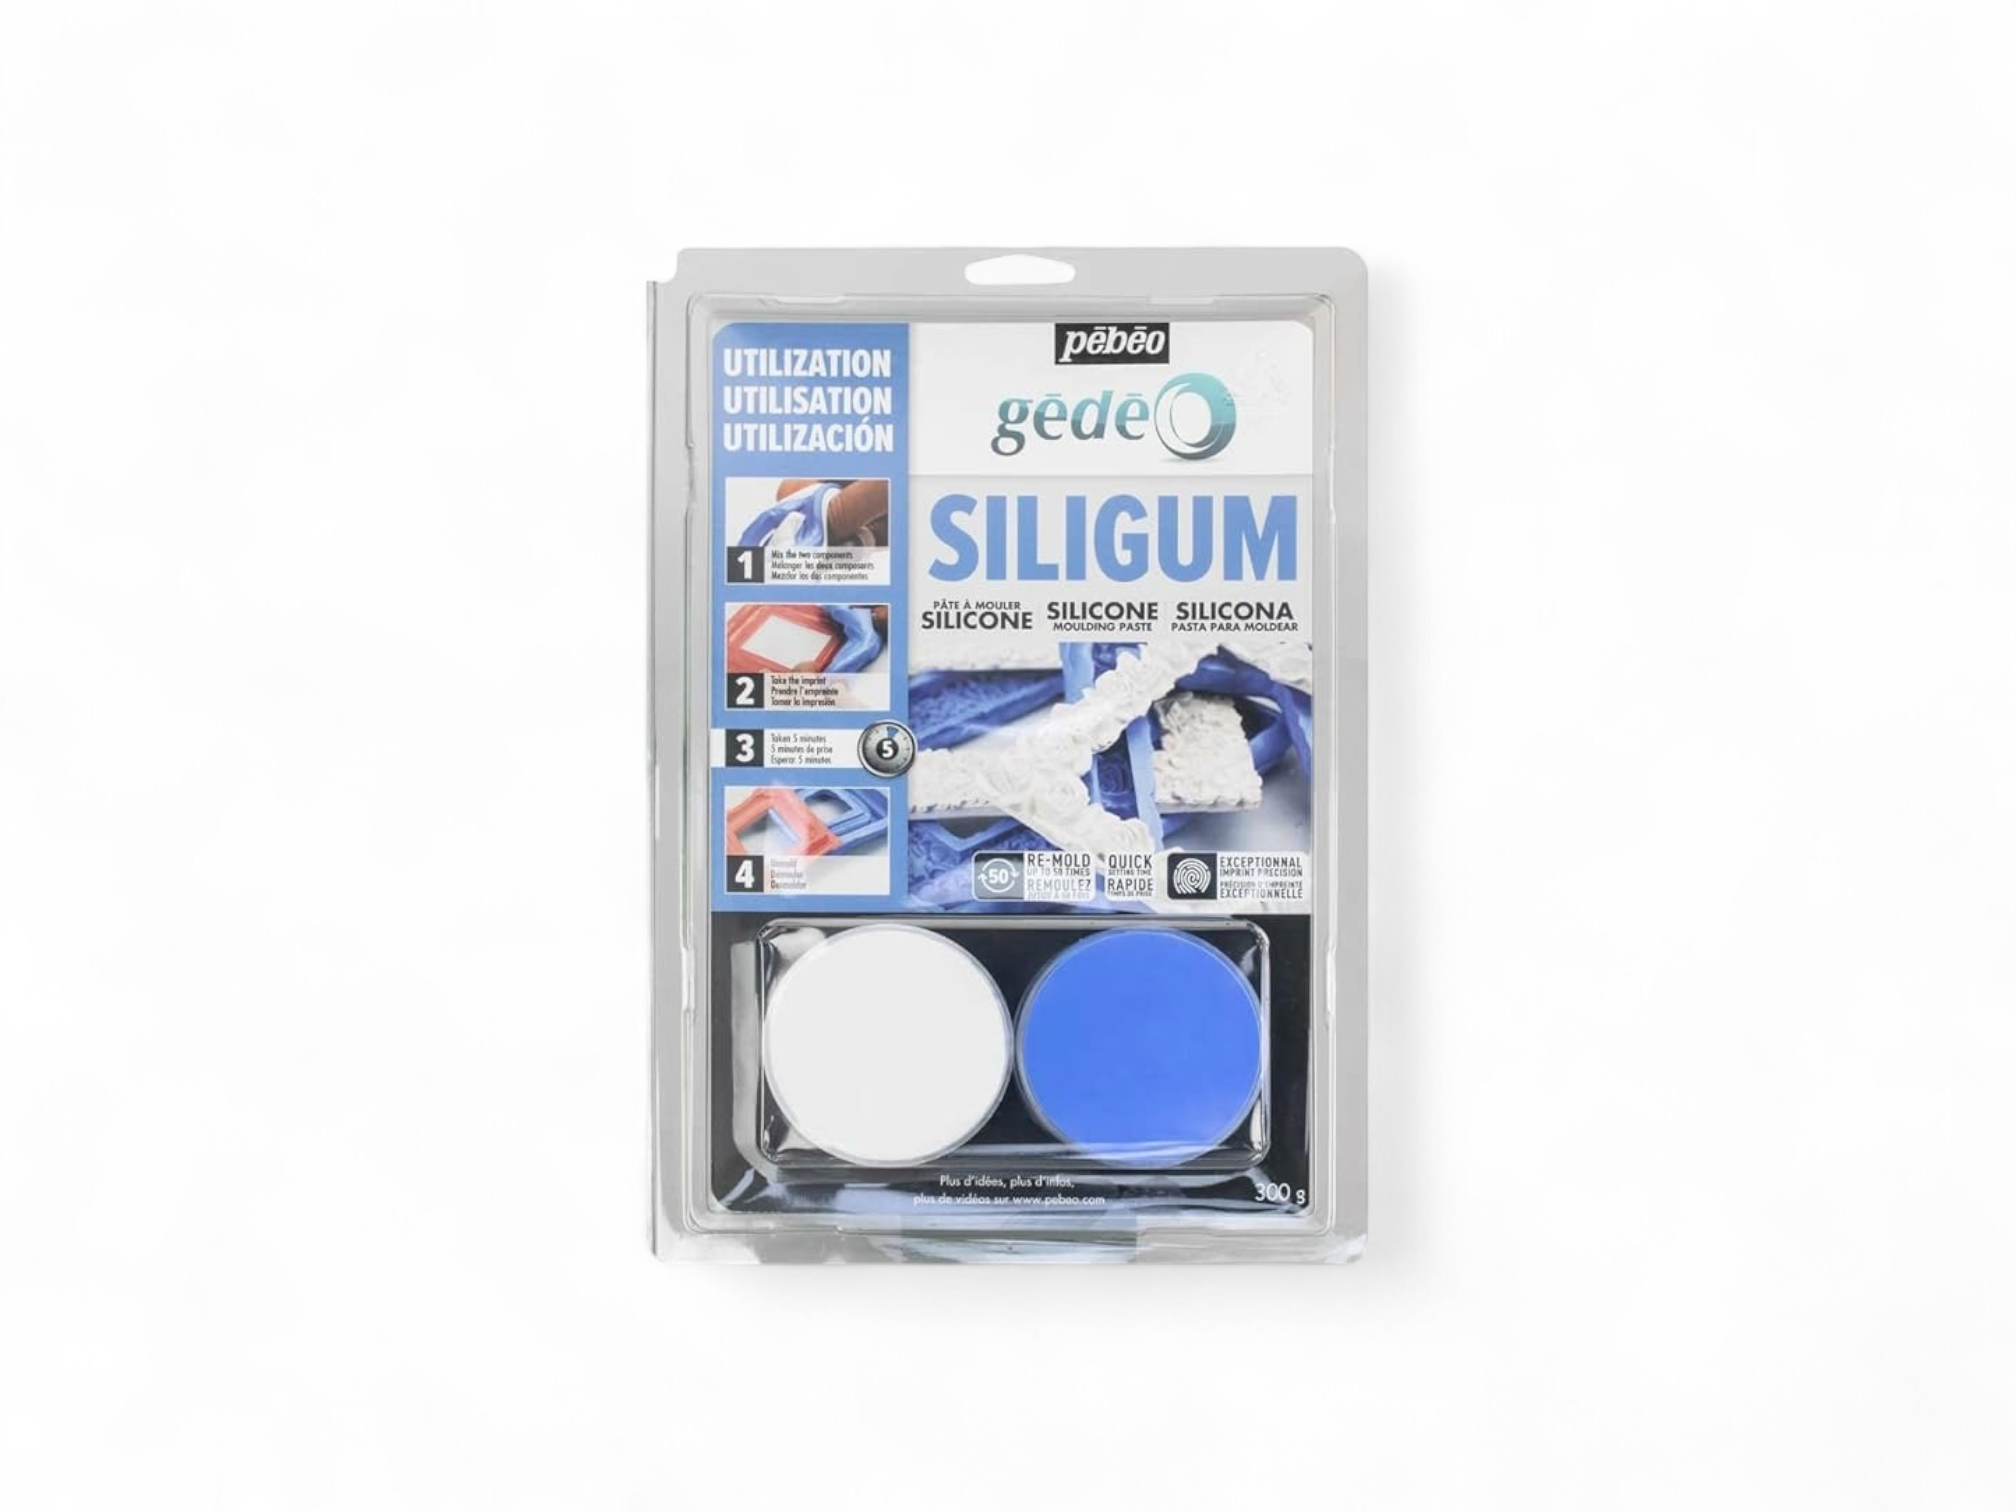
What is Siligum?
Siligum is a non-toxic, two-part silicone moulding compound. You mix the white and blue parts together, and it cures into a flexible, durable mould that captures very fine detail, which makes it ideal for silver clay.
What’s it used for in jewellery making?
Siligum/Silicone moulding compound has lots of different uses, but in jewellery is often used for capturing very fine detail, shape and texture in natural or botanical forms. And although in this instance we’re using it with silver clay, you can also use silicone moulds like this with wax, polymer clay, regular clay, resin, and plaster.


The Method
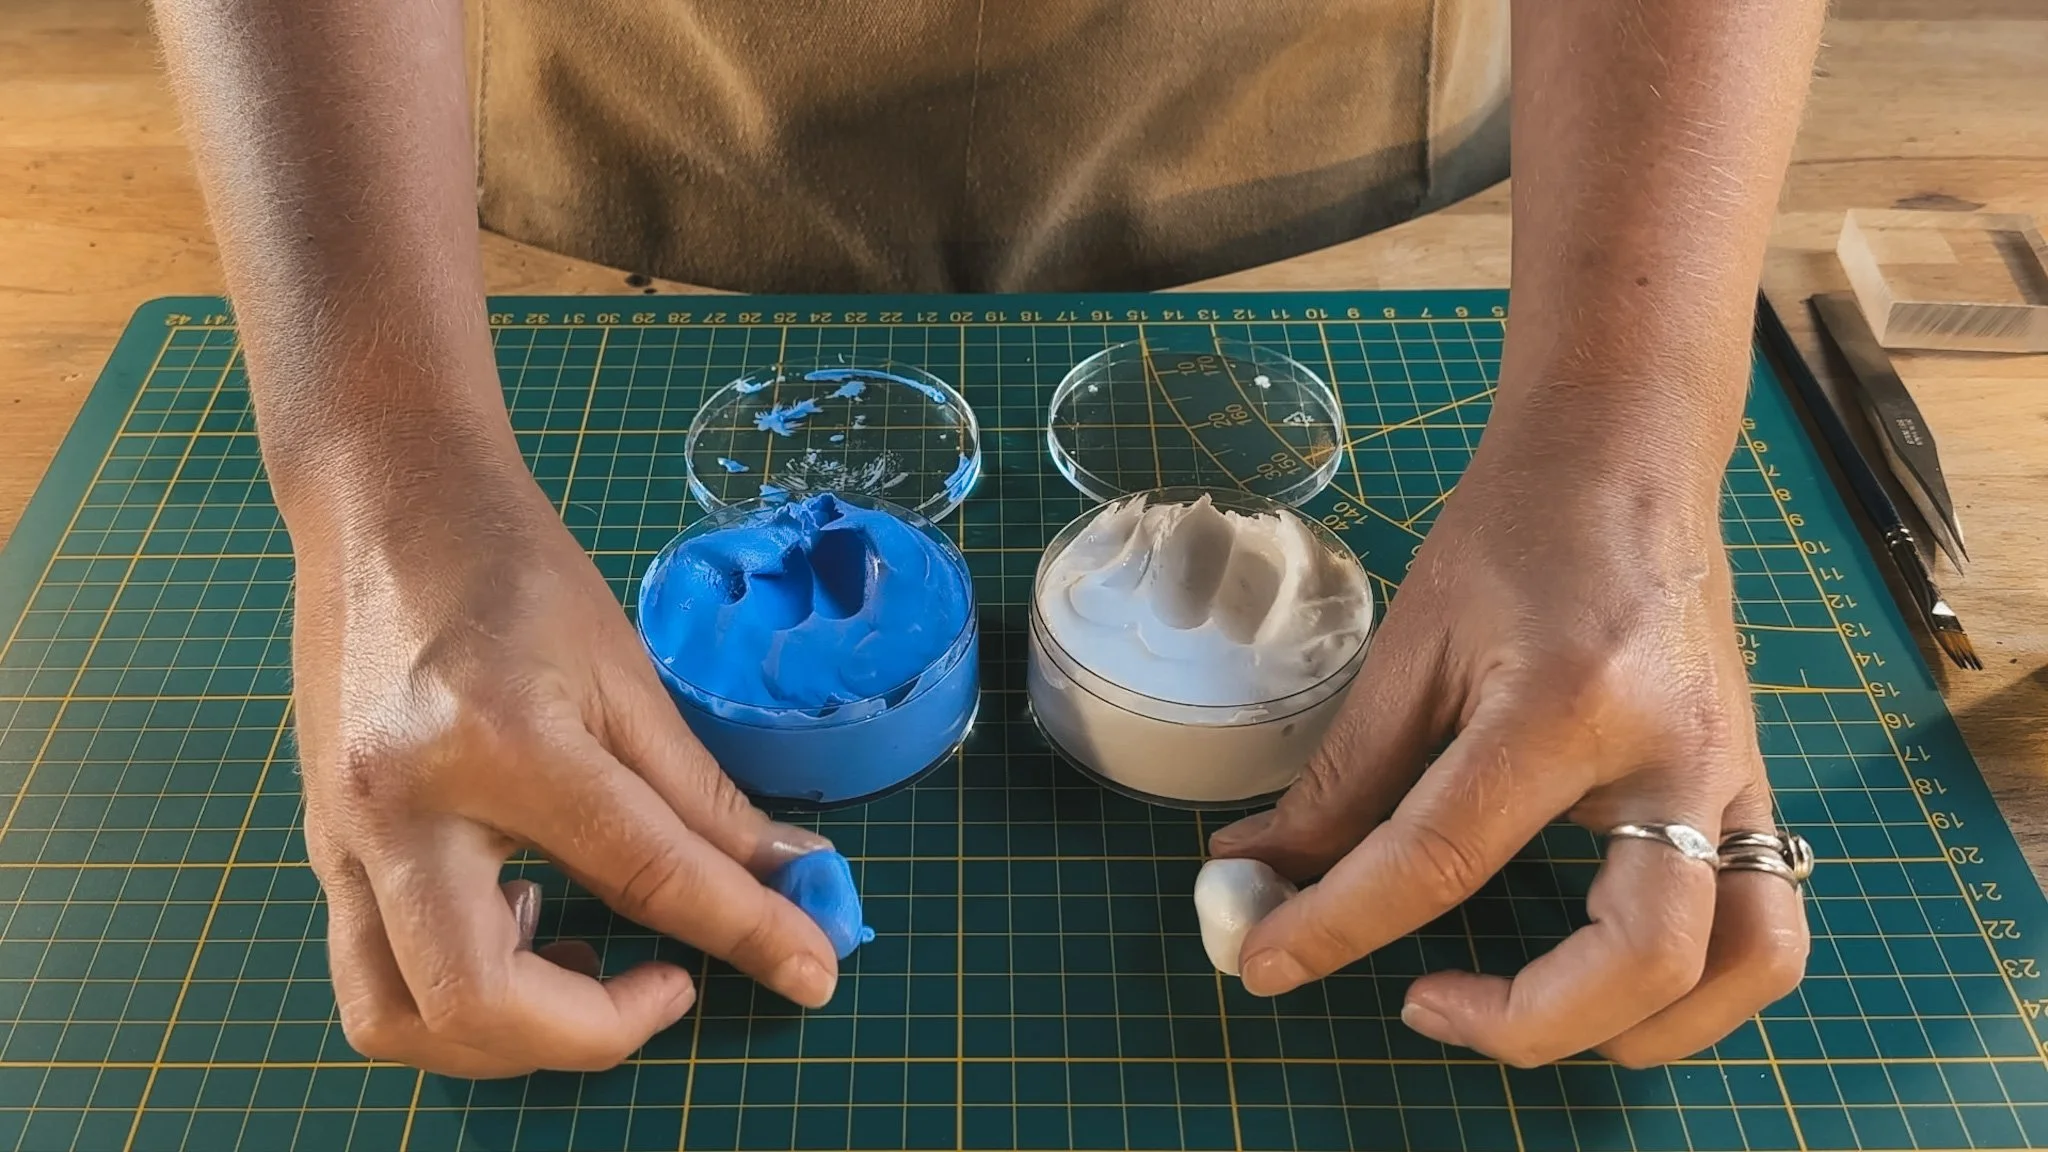
Step 1: Take equal parts of your compound, one at a time. Use one hand for one pot and one hand for the other so you don’t accidentally contaminate one with the other. You don’t need to be ultra-precise. Two equally sized pieces will cure just fine. But if you prefer accuracy, you can use a set of jewellers’ scales to weigh each piece so they’re identical.

Step 2: Mix the two colours together with your fingers until the colour becomes an even blue all the way through, with no streaks. Once it’s mixed, you’ve got around five minutes before it starts to harden, so make sure you have a plan before you begin. If it’s a warm day, or you have warm hands, it will start to cure faster, so keep that in mind. In a cold studio, you’ll have a little more time to work.
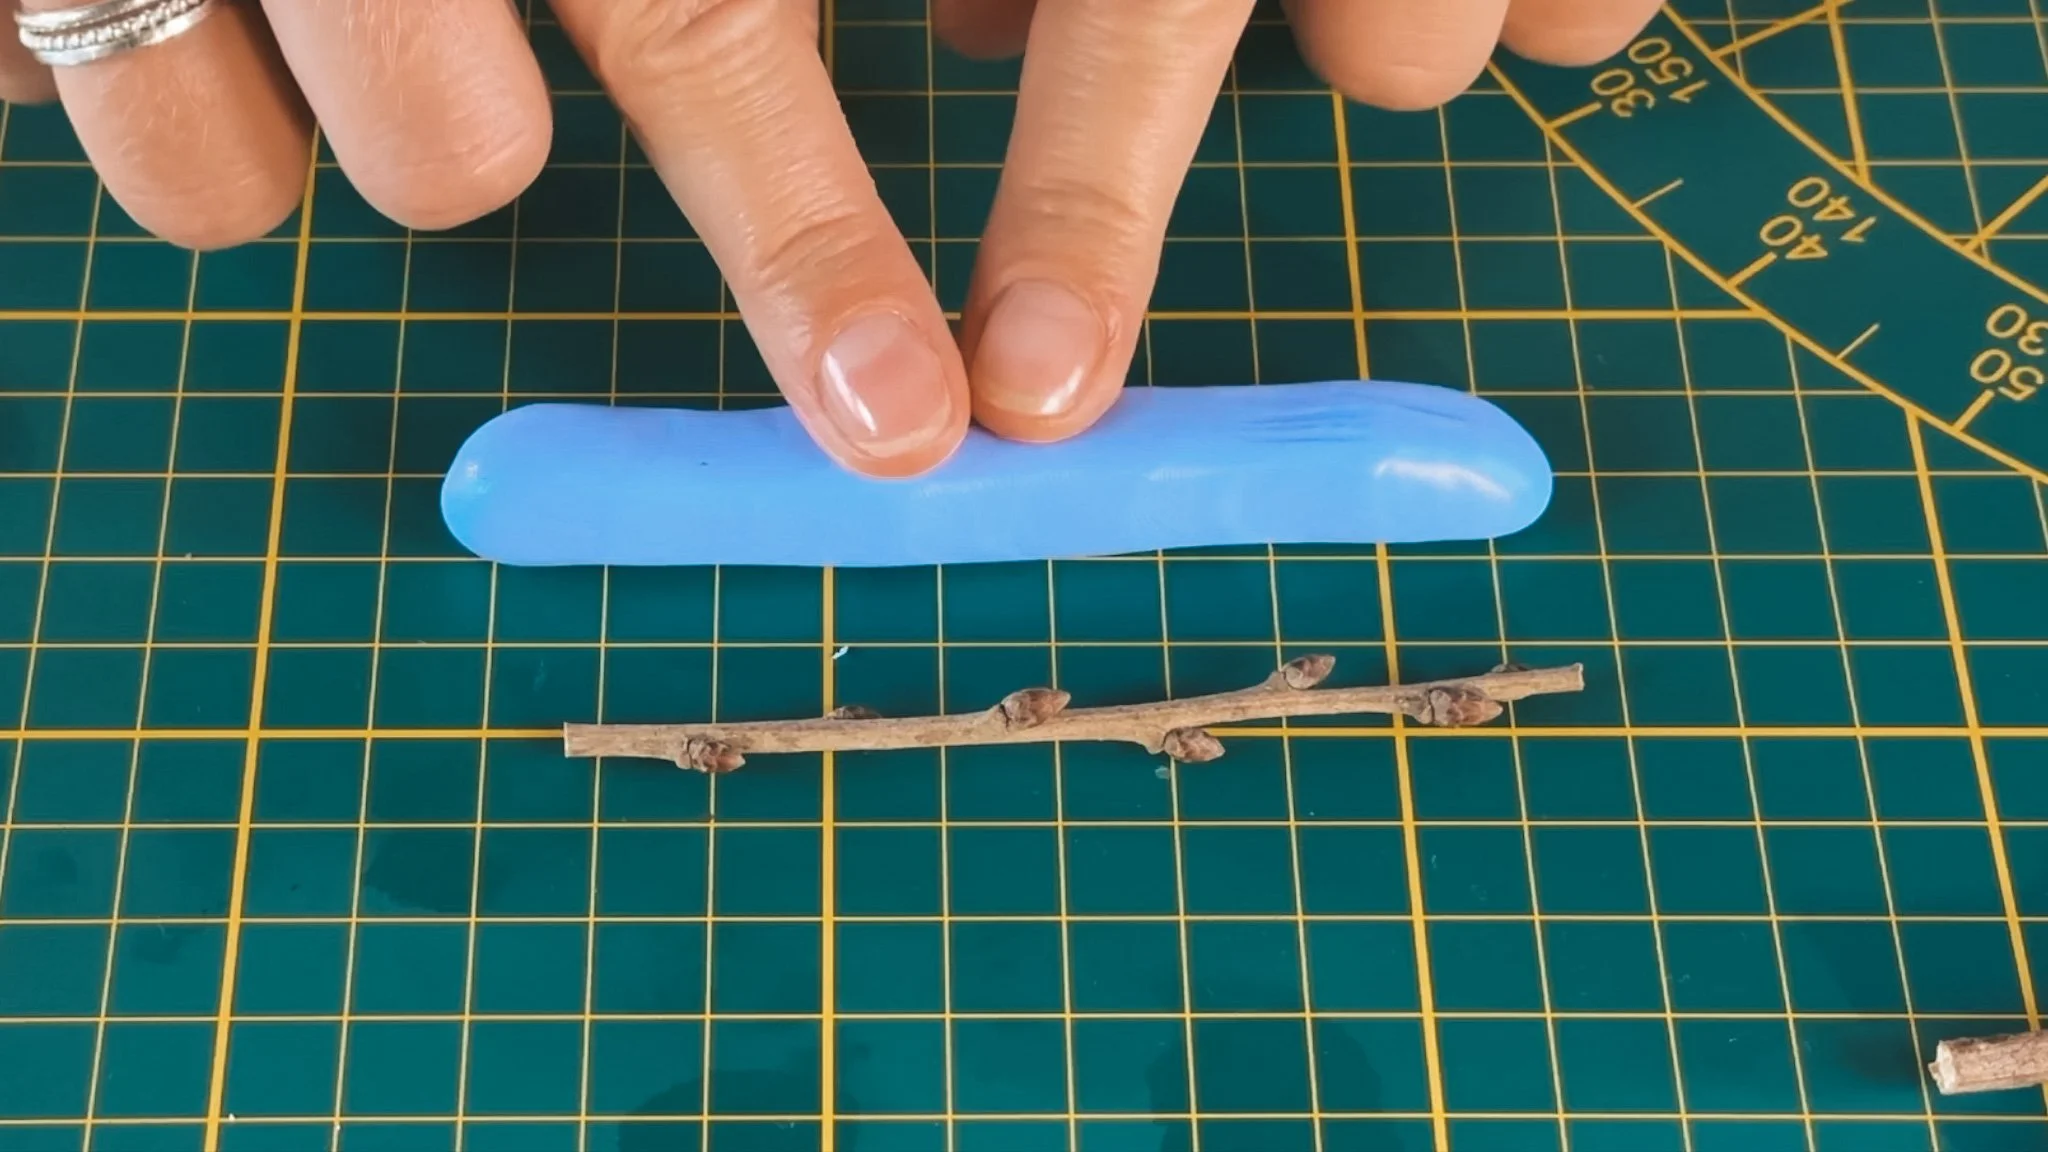
Step 3: Roll the mixed compound into the rough shape of the thing you want to mould: a ball if you want a disc, or a sausage shape if you’re moulding something longer.
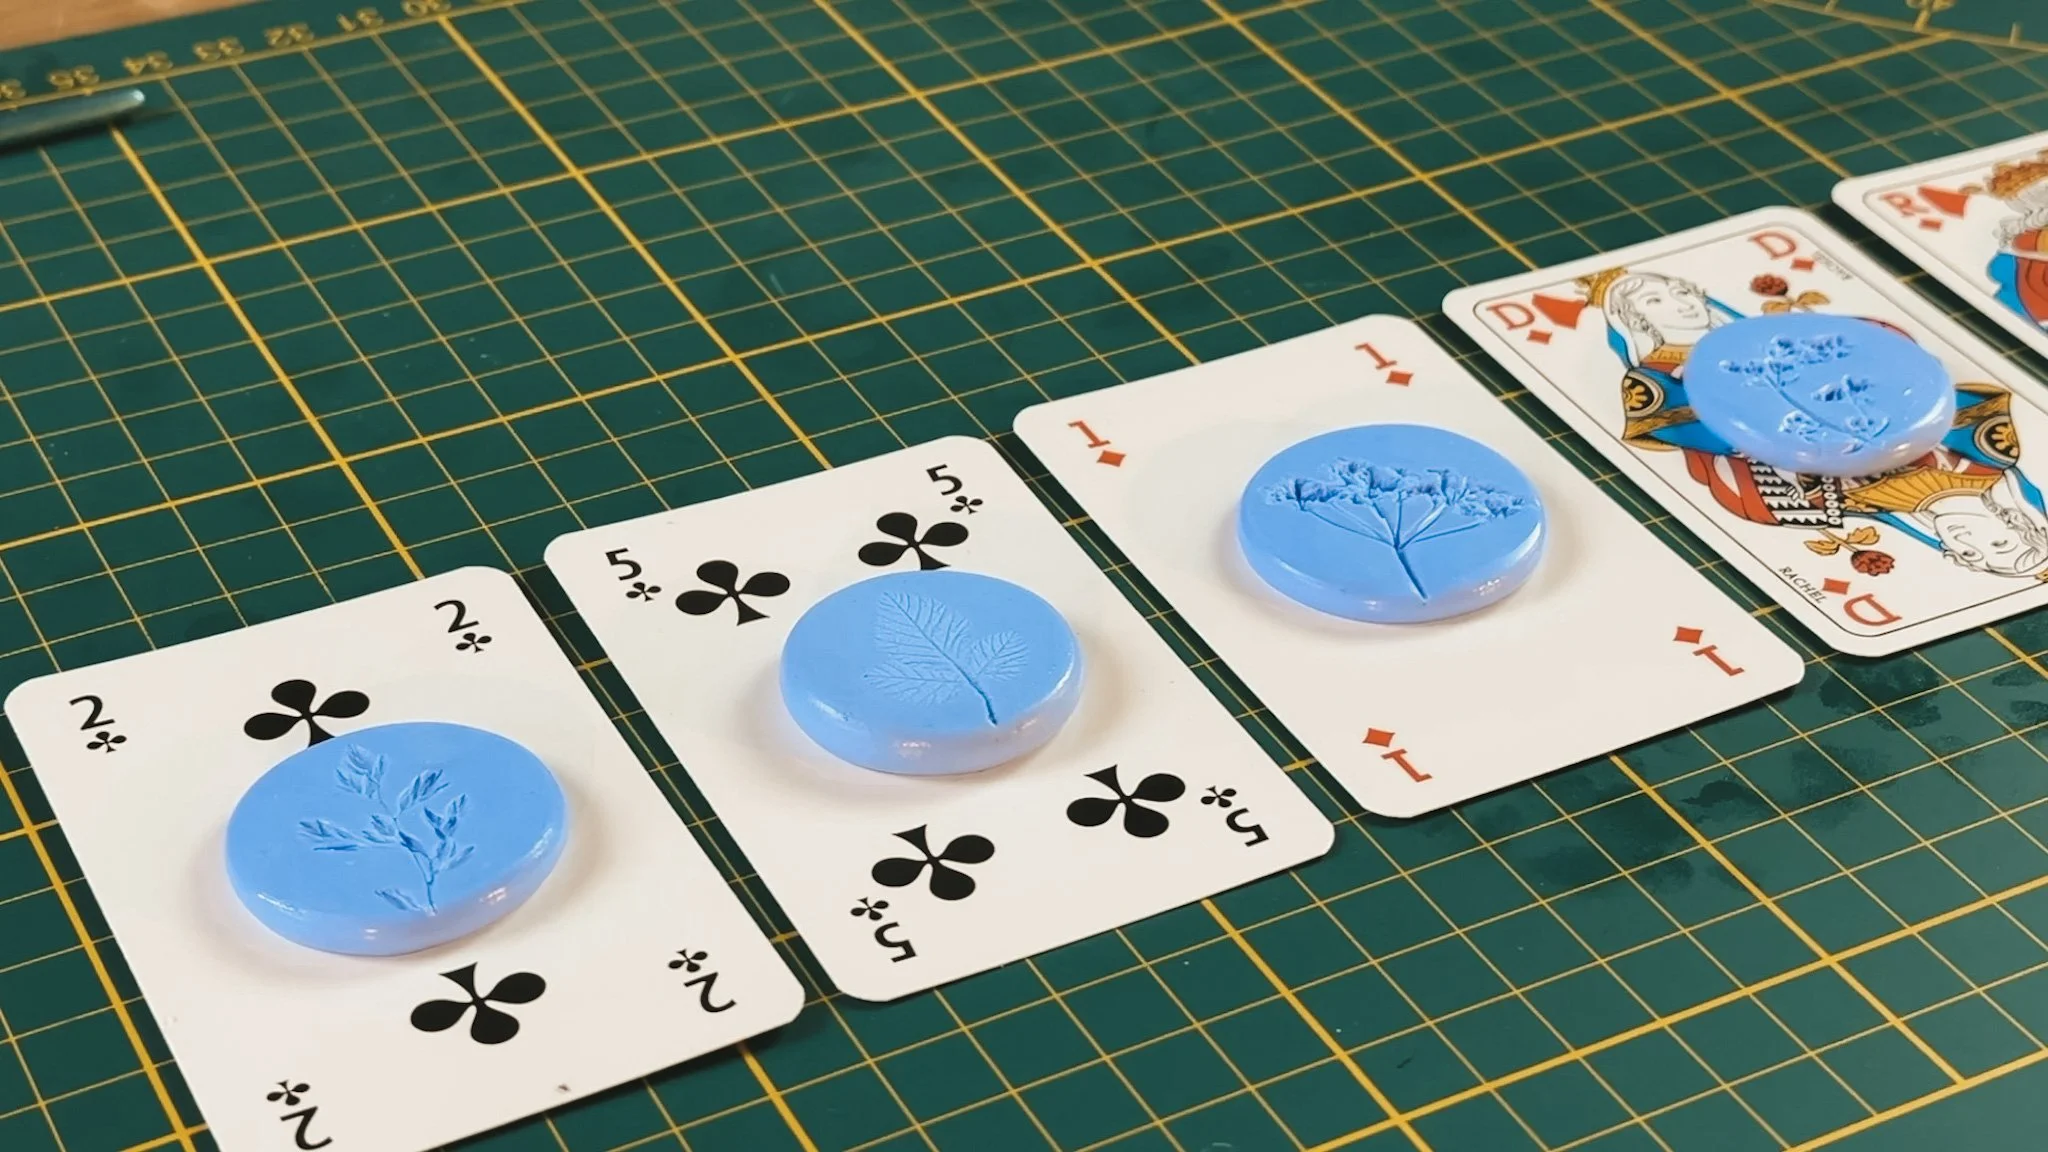
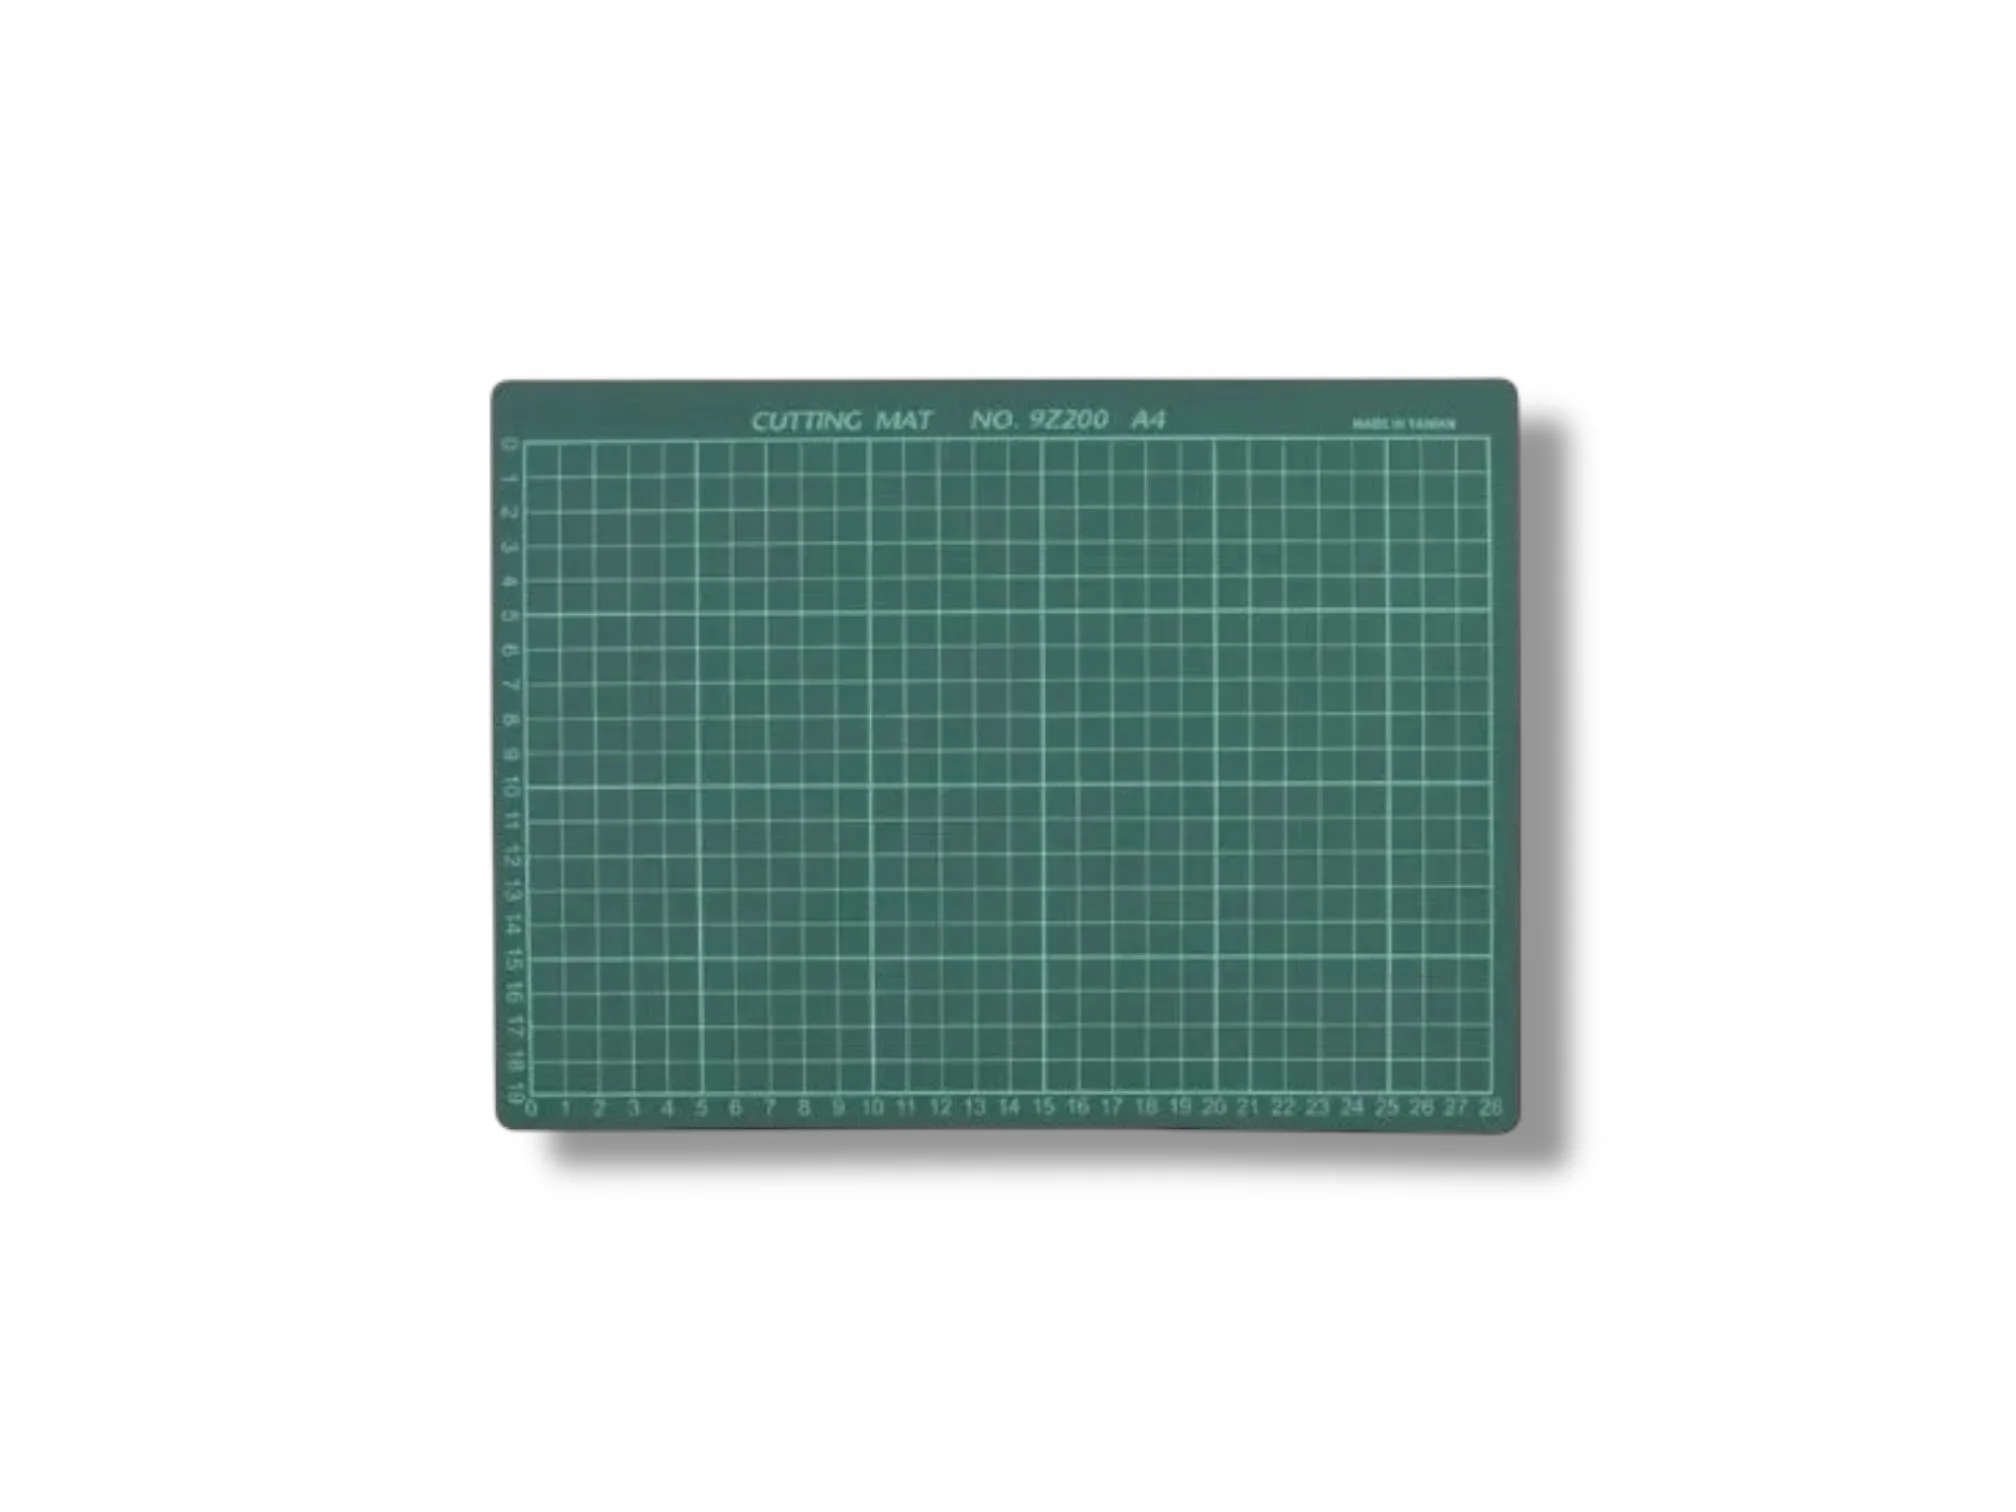
Step 4: Place it onto a cutting mat or a playing card. Playing cards are a really useful addition if you want to make a selection of moulds, because you can move your uncured moulds somewhere safe while you make the next ones.

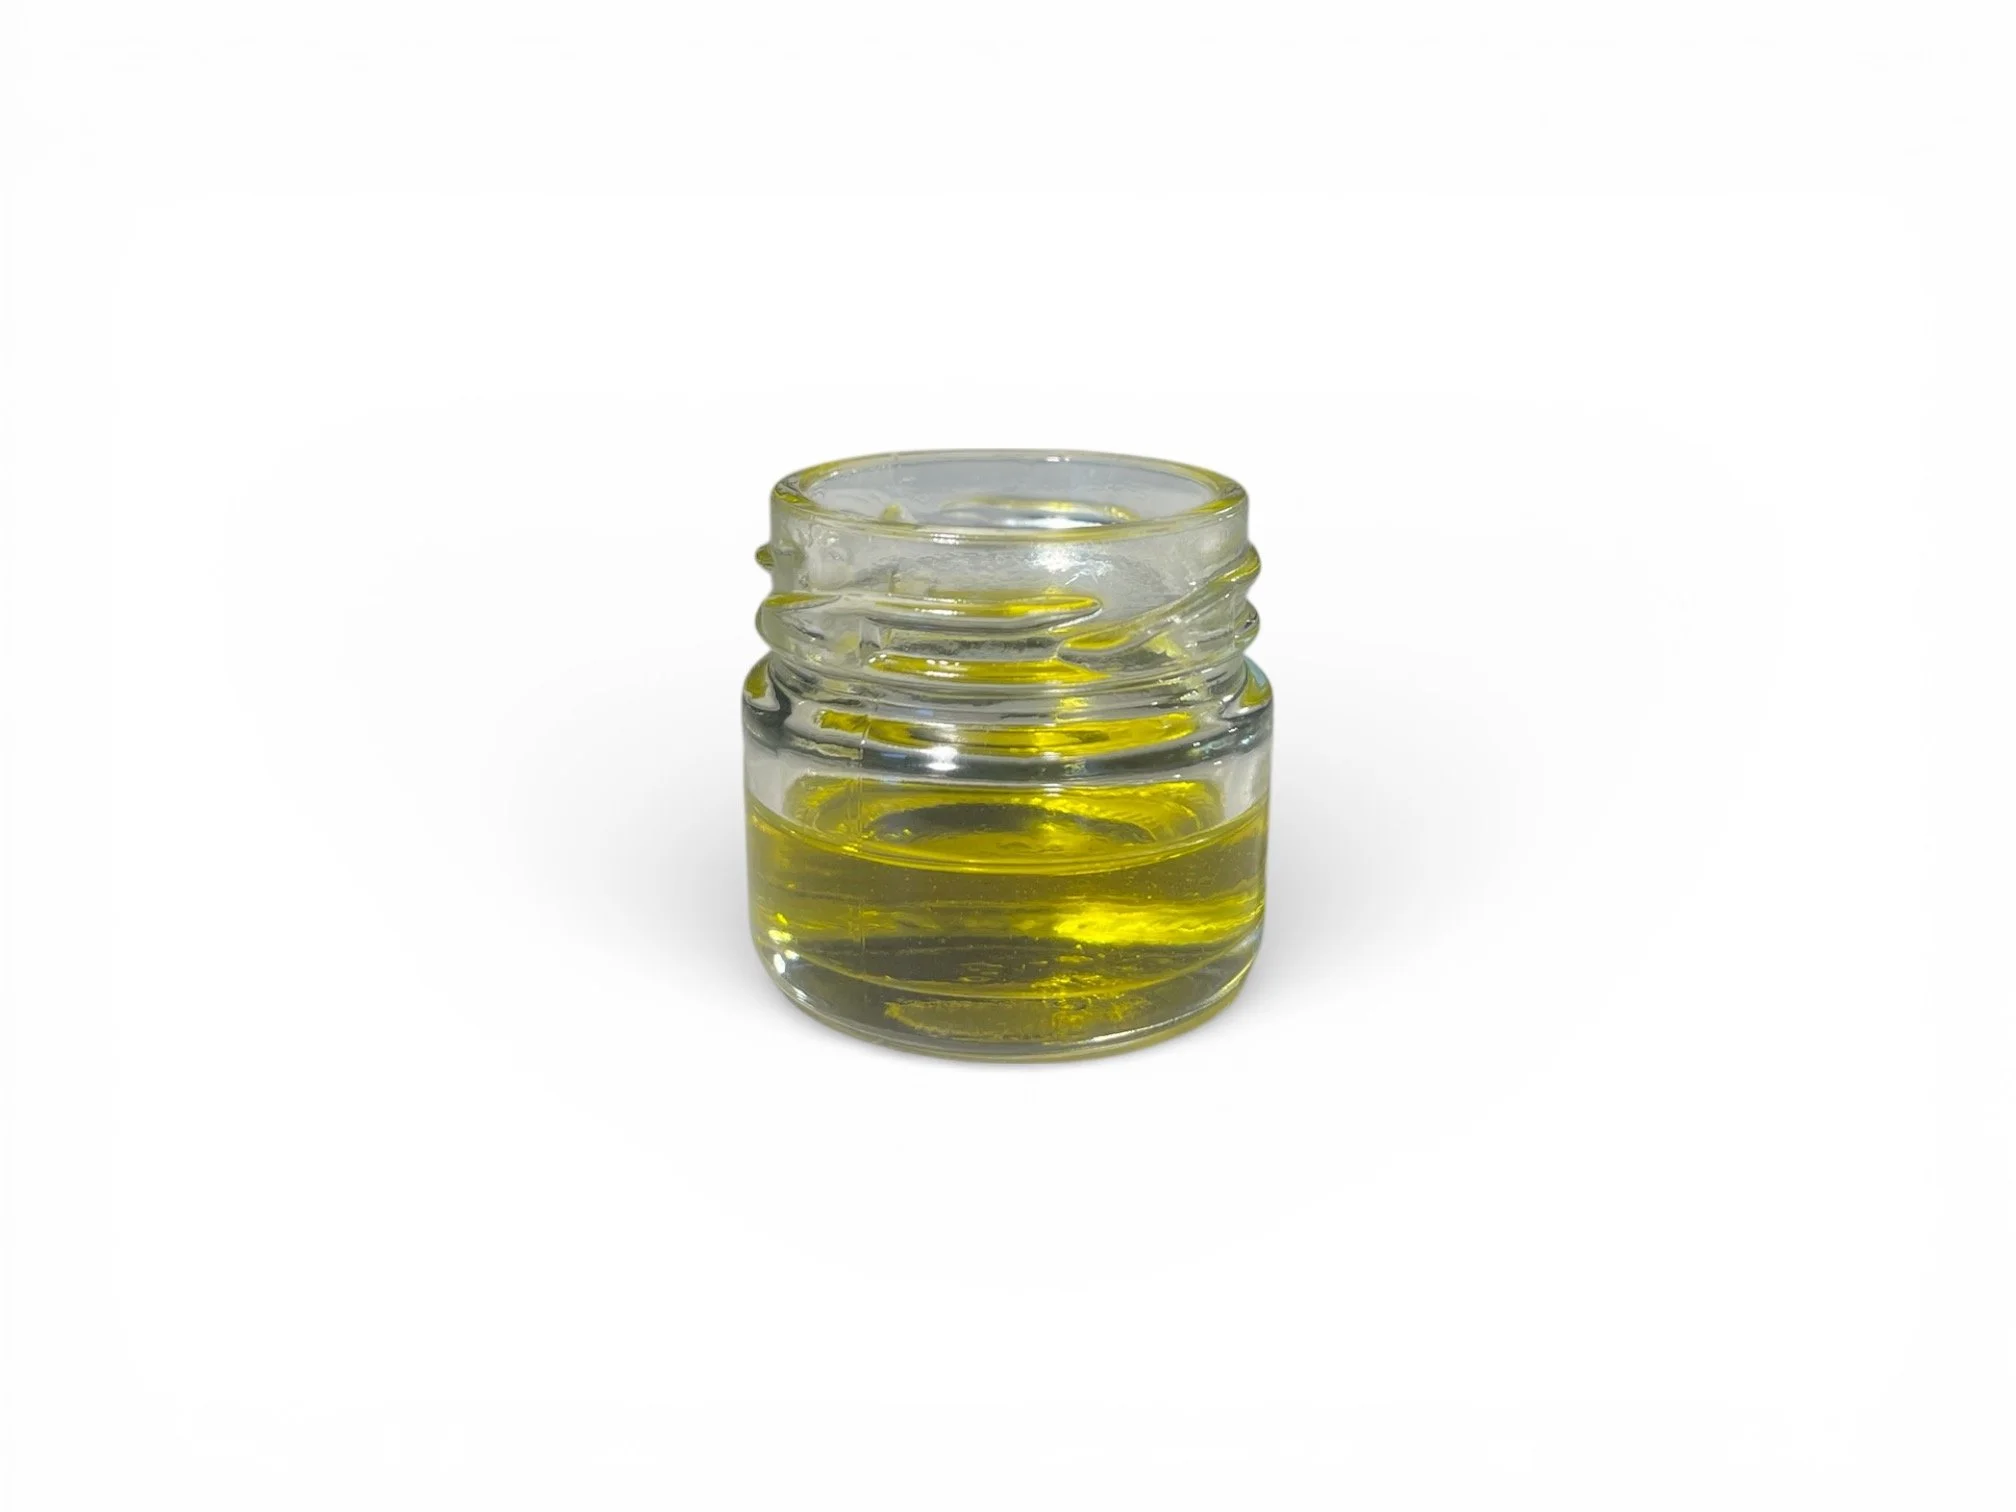
Step 5: Paint your acrylic block or sheet with a light coating of olive oil

Step 6: Use the acrylic block to flatten your moulding compound evenly. How much you flatten it is up to you, but it needs to be deeper than the thickness of your object so that, when you press your object into the compound, there’s a layer of compound all the way around it.

Step 7a: Place your leaf, shell, or chosen object onto the surface, then press it down. If it’s a delicate botanical like a leaf or a flower, use your acrylic sheet to press it down.

Step 7b: If you're moulding a larger or more solid object like a shell or acorn, use your fingers to press it into the mould.

Step 7c: If you’re using an acrylic sheet, you’ll know when the object is pushed all the way in because you’ll see the moulding compound change colour as it forms a seal with the acrylic.

Step 8: Once you’ve made your mould, leave the compound to fully harden for around 15 minutes. You’ll know it’s ready when it feels rubbery and springs back when gently pressed.

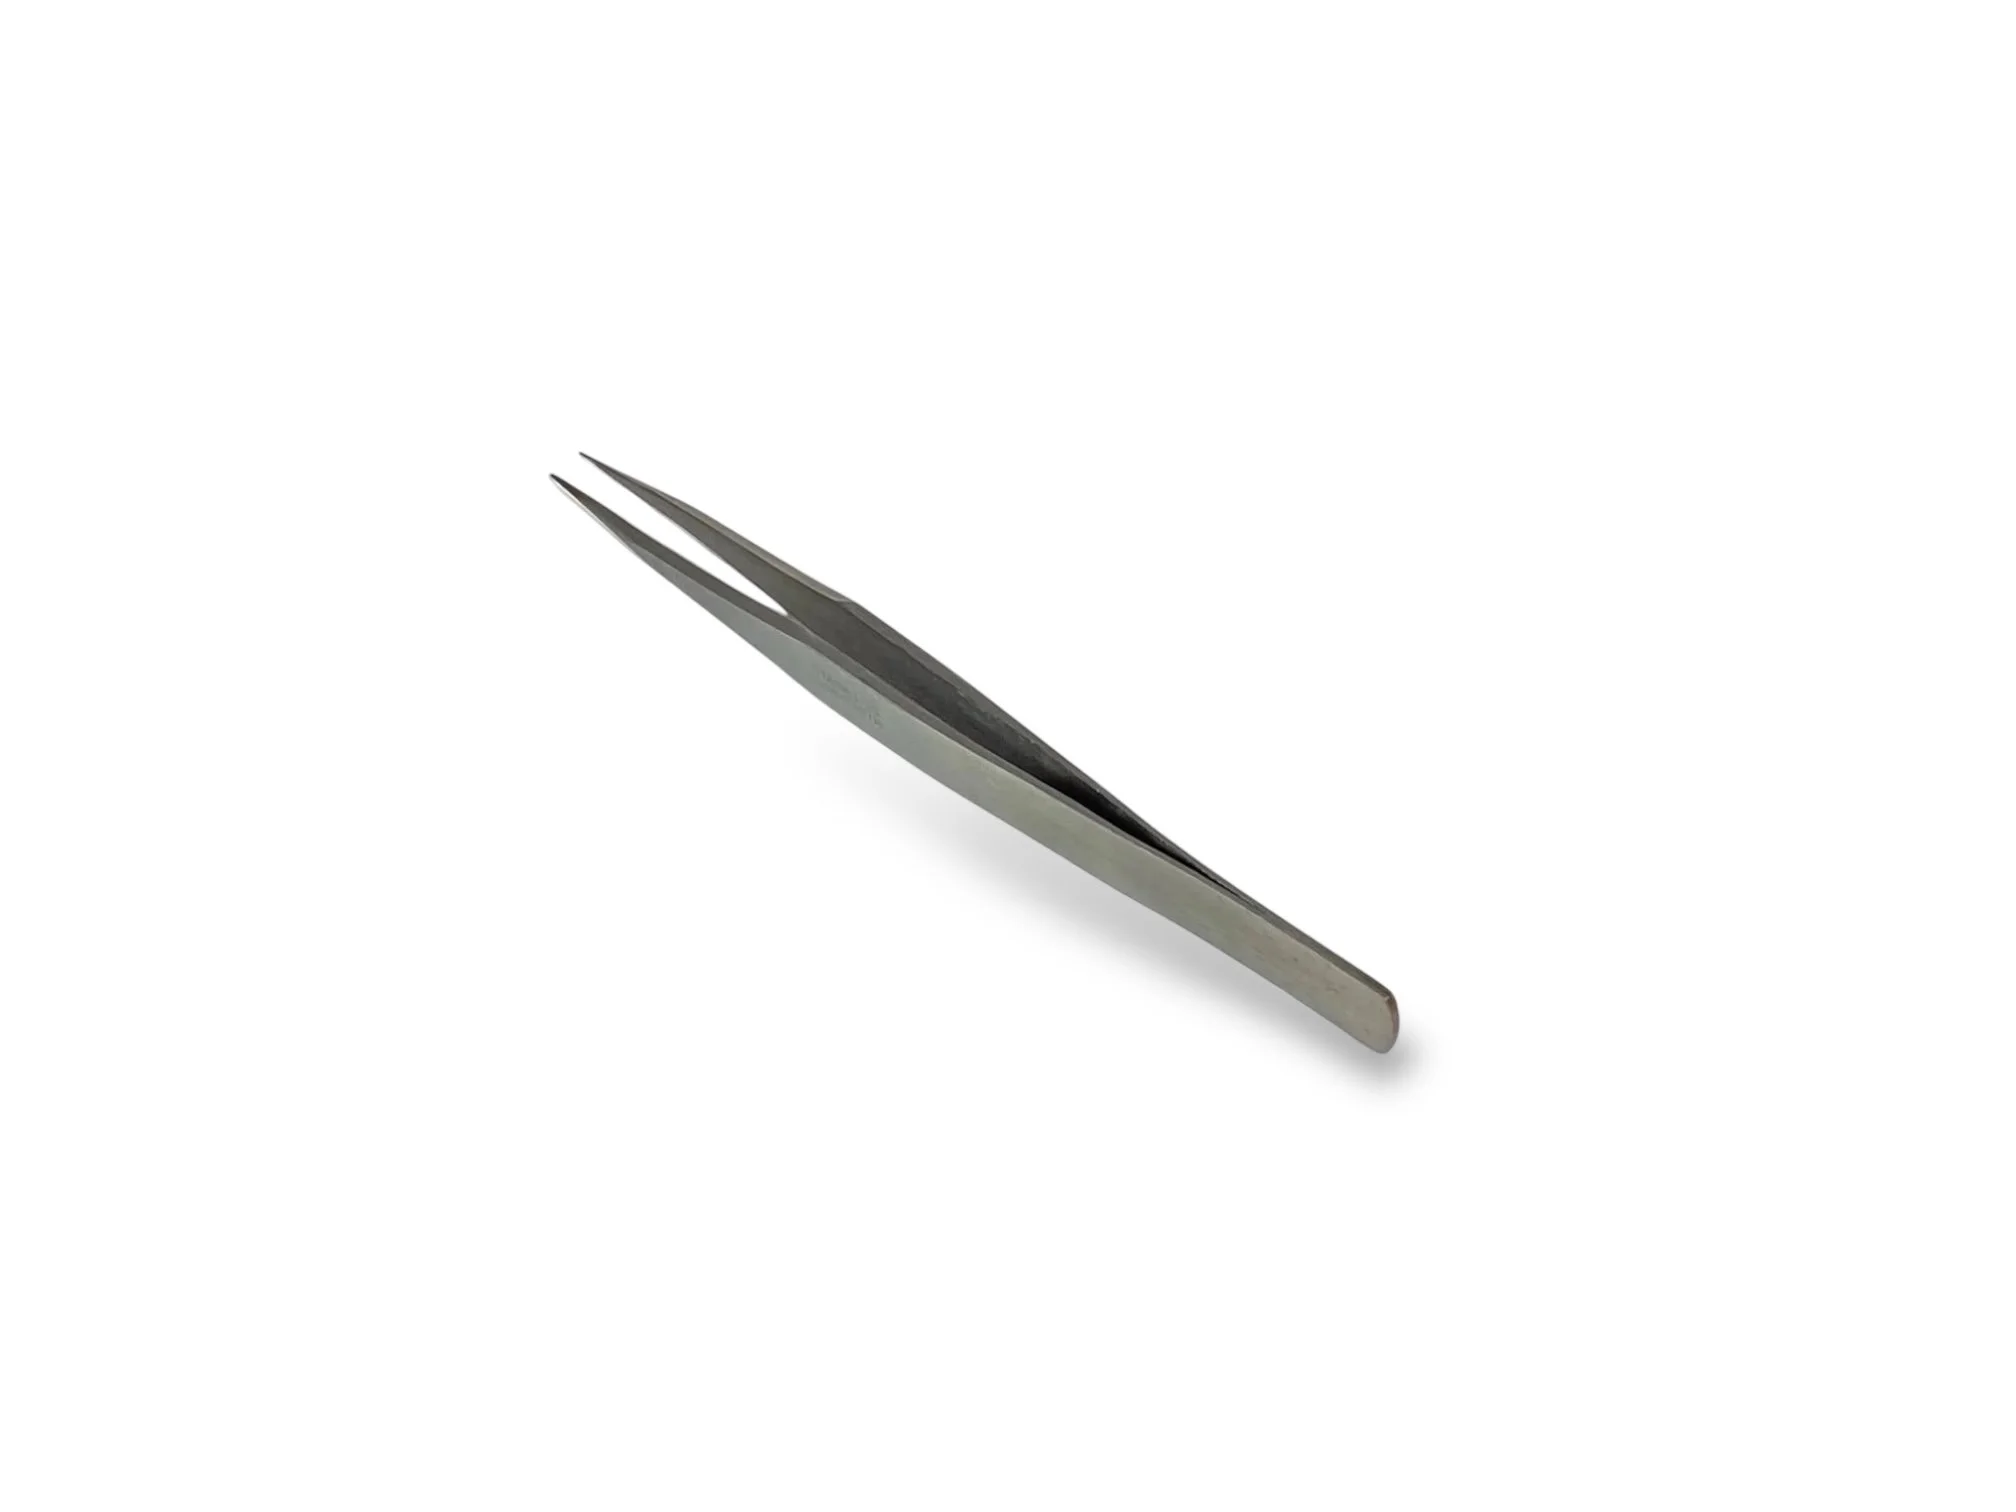
Step 9: All that’s left to do is carefully remove your object from the mould, either with a pair of tweezers or by giving it a gentle push from underneath. You’ll be left with a perfectly detailed impression, ready to use.

Step 10: Keep your silicone moulds clean and store them somewhere safe, and you’ll be able to reuse them again and again in new designs.
Where to buy Siligum Moulding Compound?
If you’d like to learn how to use these moulds to make precious metal jewellery, I invite you to explore the Cognac Jewellery School Membership where you’ll learn how to make start-to-finish, nature-inspired projects through step-by-step projects