Shadow Box Botanical Bracelet Tutorial - Intermediate Jewellery Making Project
This intermediate-level course combines silver clay with traditional silversmithing to create a unique statement bracelet that captures the fleeting beauty of nature.
You'll learn how to transform real plants and flowers into silver replicas using silicone moulds, then frame them in hand-crafted sterling silver shadow boxes. Master sweat soldering, create perfectly fitting frames, and craft your own T-bar clasp while developing advanced metalworking skills. Perfect for preserving meaningful botanicals: From garden blooms to foraged finds, in a wearable piece that showcases your technical ability.
What You’ll Learn in this Silver Clay & Silversmithing Course:

Learn how to create a collection of silicone moulds using plants and flowers

Learn how to use those silicone moulds with silver clay to create perfect replicas

Learn how to fire your silver clay either with a blowtorch or a kiln

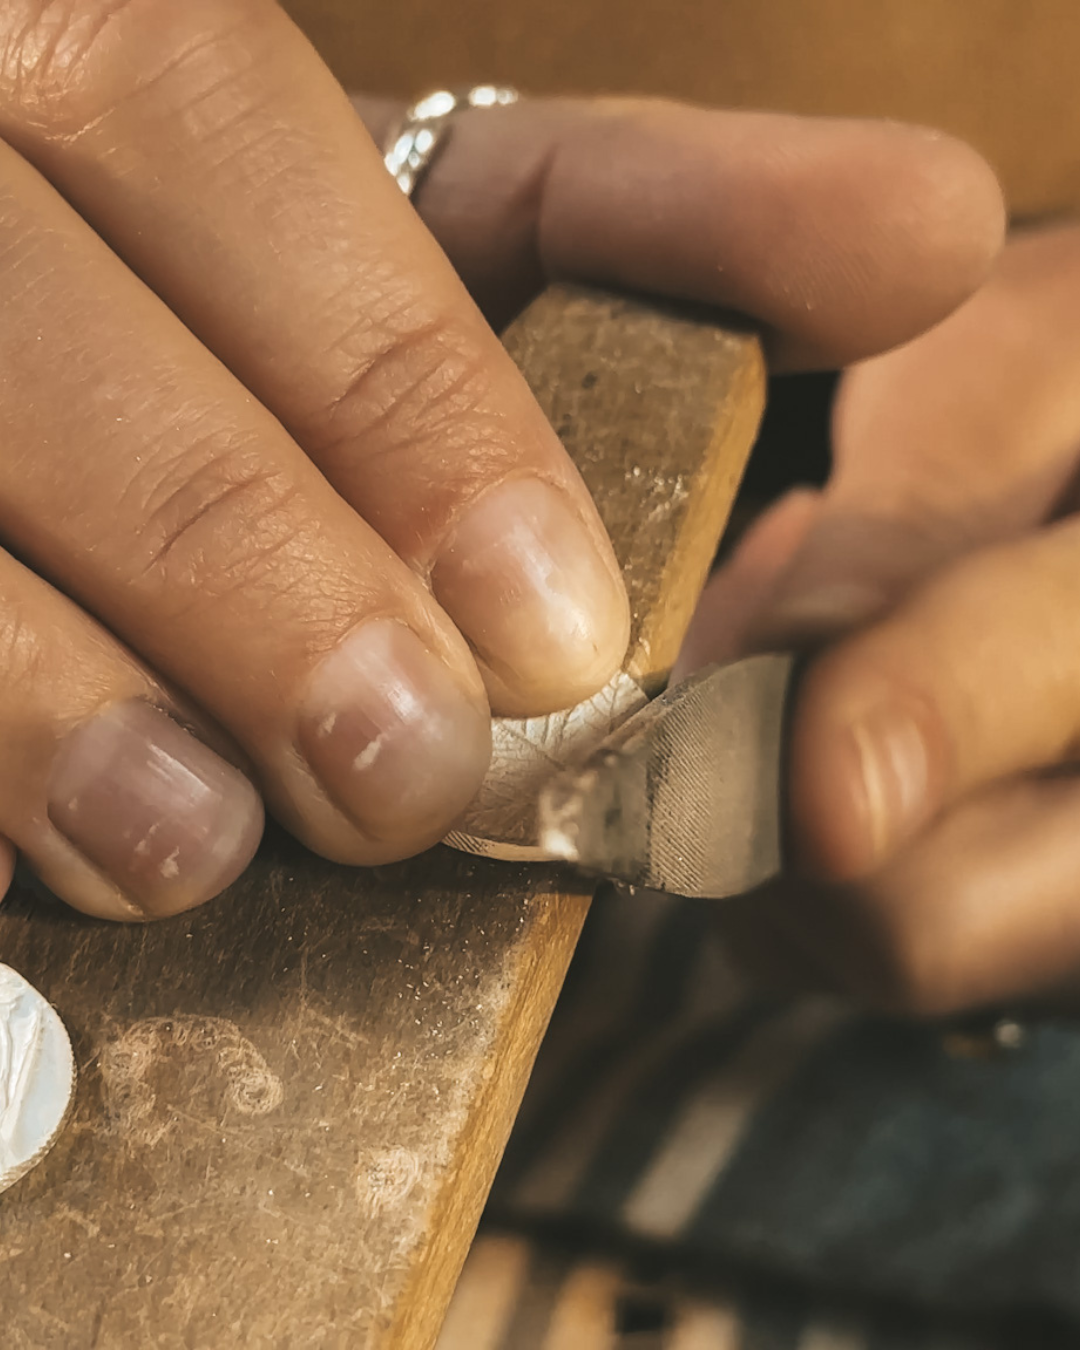
Learn how to refine your silver clay

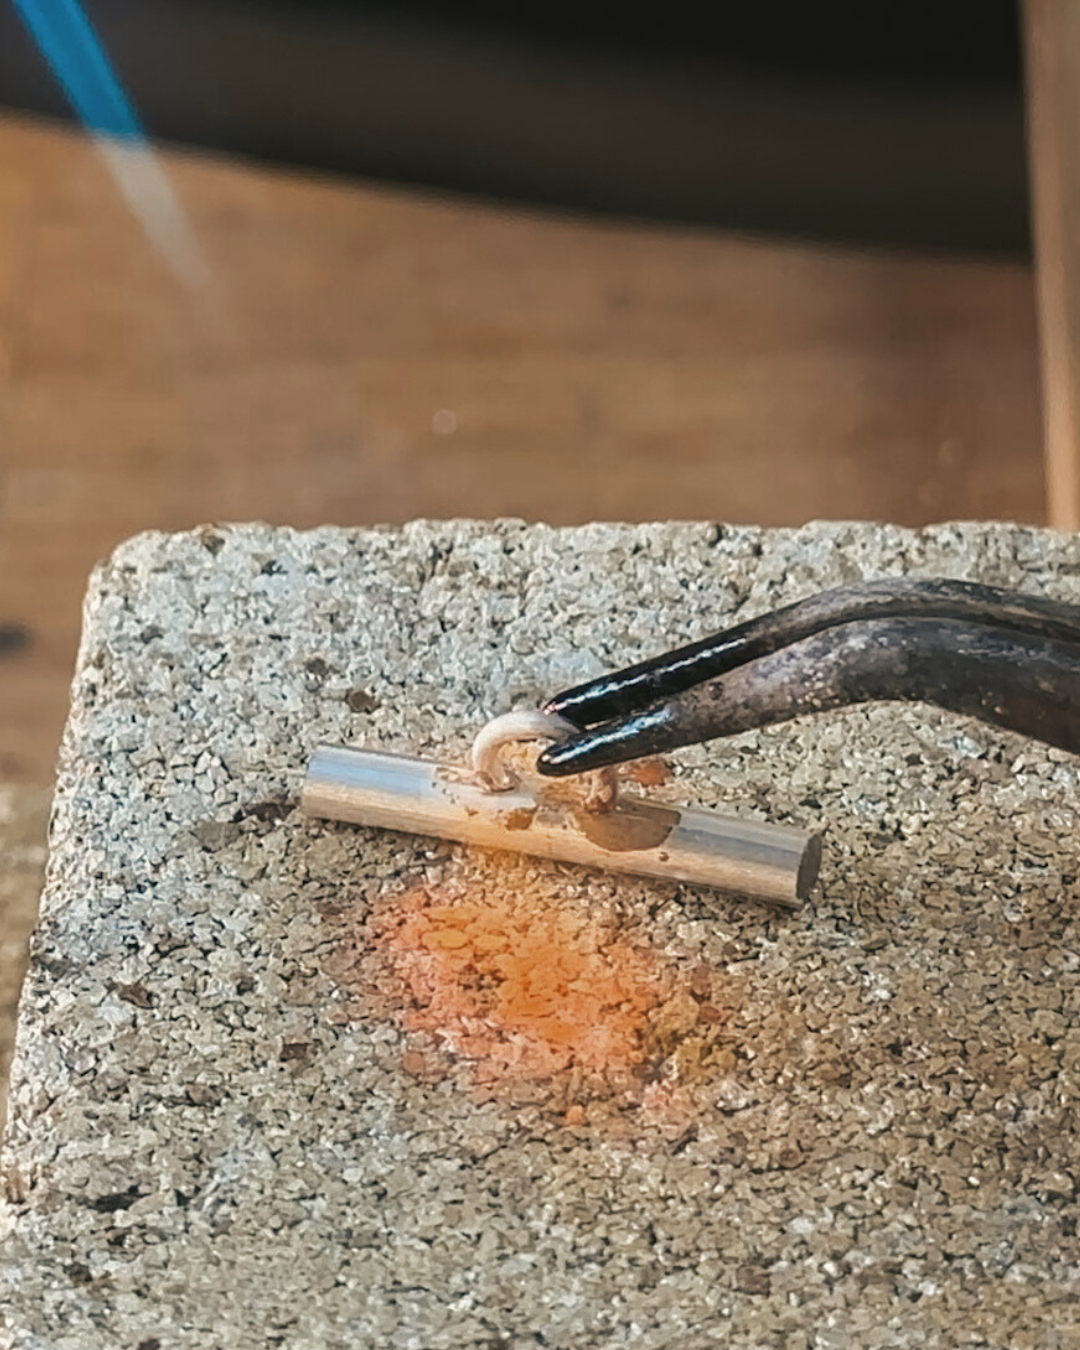
Learn how to sweat solder silver clay to sterling silver

Learn how to make perfectly fitting silver frames for your designs

Learn how to make connectors for your bracelet

Learn how to make a T-bar clasp

Learn how to link your bracelet together using a variety of soldering techniques

Learn how to finish and polish your bracelet

And volià, a completely unique Shadow Box Botanical Bracelet!
Love this Project?
Become a Cognac Jewellery School Member today and get instant access to this tutorial plus all the other jewellery making projects. Learn at your own pace with unlimited access, monthly new projects, and ongoing support from award-winning jeweller Jessica
Unlimited access to all projects, 30 day money-back guarantee, cancel any time
Have questions? check out the membership FAQs
Who Is This Intermediate Tutorial For?
✓ Intermediate jewellery makers who have mastered basic silver clay and silversmithing techniques and are ready to combine both skills in one ambitious project
✓ Nature lovers and botanical enthusiasts who want to preserve the ephemeral beauty of seasonal flowers, garden treasures, or foraged finds in lasting silver
✓ Makers who want to offer bespoke commissions using customers' own pressed flowers, wedding bouquets, or meaningful botanicals for truly personal pieces
What’s included in this Project?
✓ 23 Easy-to-digest video lessons
✓ Bonus technical tutorials
✓ PDF written instructions & bracelet template
✓ A full tools and materials list with supplier links
✓ 1-2-1 support from Jessica if you need it
Tools and Materials needed for this project:
Browse our complete UK Master tools list, USA Master tools list, or Europe Master tools list with direct supplier links
Materials List
Plants and flowers from nature
20g Silver Clay
Siligum Moulding Compound
Hard and Medium Silver Solder
Silver Sheet (approximately 120mm x 20mm x 0.6mm/22 gauge)
Rectangular 0.5mm/24 gauge Sterling Silver Wire (3mm x approximately 250-400mm) OR 6 strips of 0.5mm/24 gauge silver sheet (3mm x approximately 55m each)
2.5mm/10 gauge Round Sterling Silver Wire (approximately 18mm)
40mm + Silver Tube (with an internal diameter of 2.5mm)
9 x 10mm sterling silver jump rings
4 x 5mm sterling silver jump rings
Approximately 300mm of 0.6mm/22 gauge round wire (any metal is fine, this wire is for making spacers)
fresh water
olive oil
Tools List
Acrylic sheet
Cutting mat
Tweezers
Plasticine
Craft knife
A ring mandrel
Playing cards
A bench peg
A jewellers saw and saw blades
A steel block
A set of needle files
Side cutters/snips
Flat-nosed pliers
A rawhide mallet
A flat file
A template or round cutters (optional)
A compact mirror
A scribe
A vernier gauge/digital calliper
A chenier cutter/tube cutter
A flat edge graver
A pair of dividers
Choose between Torch and Kiln Firing
Tools For Torch Firing
A Fire Brick
A Blowtorch
Tools for Kiln Firing
A Kiln
A Steel Mesh
A Firing Fork
Tools for Soldering
A fire brick
A blowtorch
A pickling unit and pickling solution
Copper Pickling Tweezers
Flux
Steel and brass tweezers
A soldering probe
Reverse-action tweezers
A cotter pin
A turntable
Tools for Finishing and Polishing
Sanding sponges
Sanding sticks
Emery paper
White polishing pad
Polishing cloth
A pendant motor/dremel
Felt polishing points and polishing compound
An ultrasonic cleaner (optional)
A barrel polisher, stainless steel shot and barrel polishing compound (optional but advisable)
Frequently Asked Questions
Is this course suitable for complete beginners?
This is an intermediate-level project that requires some prior experience with both silver clay and basic silversmithing. You should be comfortable with:
Working with silver clay and firing (torch or kiln)
Basic soldering techniques
Using a jeweller's saw and files
Measuring and working with silver sheet and wire
If you're new to jewellery making, I recommend starting with our beginner silver clay and silversmithing projects like the Silver Clay Botanical Coin Necklace and the Skinny Stacking Rings to build your foundation skills first. All these projects are included in your membership!
How long does this project take to complete?
The course includes 23 video lessons plus bonus technical tutorials that you can watch at your own pace. Most students take a couple of days to complete their bracelet, spread over several sessions to allow for drying time between stages.
Because this is an intermediate project with multiple techniques, I recommend taking your time and not rushing. You have unlimited access to the course, so you can pause, rewatch, and work at a pace that suits you.
Do I need a kiln for this project?
No, you don't need a kiln! The silver clay components can be torch fired using a small butane torch, which I demonstrate in the course. If you do have access to a kiln, that works too. I cover both methods.
However, you will need soldering equipment (blowtorch, fire brick, flux, solder, and a pickling unit) as this project involves multiple soldering steps to create the frames, connectors, and clasp.
What makes this bracelet a "shadow box" design?
The shadow box technique creates a three-dimensional framed effect where your botanical silver clay pieces sit within hand-crafted sterling silver frames, like miniature display cases. The frames have depth and dimension, allowing light and shadow to play across the delicate botanical details.
Each panel becomes a tiny window into nature, showcasing the intricate textures of real plants and flowers preserved in silver. It's a stunning way to display your work and creates a piece that's both sculptural and eye-catching.
Can I use my own plants and flowers?
Absolutely! That's what makes this project so special and personal. You can use:
Fresh flowers and leaves from your garden
Foraged plants from nature walks (make sure foraging is legal in your area)
Pressed flowers you've saved from special occasions
Seasonal botanicals that reflect where you live
Important: Only collect plants you can positively identify. Some plants are poisonous or protected, so if you're unsure what something is, leave it where it is and choose something you recognize.
What type of silver clay should I use?
I demonstrate with Art Clay Silver in the course, but you can use any brand of silver clay you prefer or have access to:
Art Clay Silver
PMC (Precious Metal Clay)
Prometheus
Cool Tools Silver Clay
Just make sure you're using fine silver clay if you want to torch fire. the 950 and sterling silver versions require kiln firing.
Will my bracelet be solid silver?
Yes! After firing, your silver clay becomes 99.9% pure fine silver. The frames, connectors, and clasp are made from sterling silver (92.5% silver). This is a genuine silver bracelet that will last a lifetime with proper care.
What if I get stuck or need help?
As a Cognac Jewellery School member, you get 1-2-1 support from me if you need it. You can reach out via email or the members' forum, and I'll help troubleshoot any challenges you're facing.
Plus, you have unlimited access to all the video lessons, so you can rewatch any technique as many times as you need. I also include bonus technical tutorials that dive deeper into specific skills.
Can I sell bracelets I make from this course?
Yes! Once you've learned the techniques, you're welcome to create and sell your own shadow box botanical bracelets. This design is particularly popular for:
Bespoke commissions using customers' meaningful flowers (wedding bouquets, memorial flowers, garden blooms)
Seasonal collections featuring local or foraged botanicals
High-end craft fairs and galleries where statement pieces stand out
Ready to Create Your Shadow Box Botanical Bracelet?
Become a Cognac Jewellery School Member today and get instant access to this tutorial plus all the other jewellery making projects. Learn at your own pace with unlimited access, monthly new projects, and ongoing support from award-winning jeweller Jessica
Unlimited access to ALL projects, 30 day money-back guarantee, cancel any time
Have questions? check out the membership FAQs